
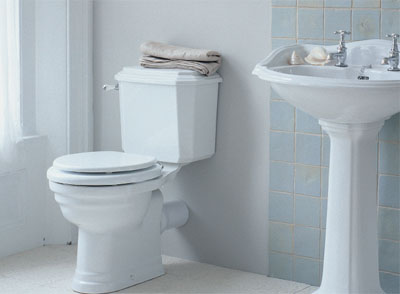
While no on wants to spend their day off from work doing home repair projects around the house, it is often the cheapest way to get things fixed. Buying and installing a new toilet is not a task that people take lightly, but it doesn’t have to be as hard as it sounds. In fact, most people who own their own houses often decide to do this kind of work themselves because the hardest part is just figuring it out the first time. Installing a toilet is a fairly easy project, and here are the steps to getting it done.
- The first step to putting in a new toilet is to measure the distance between the floor bolts and the wall, which should be 12 inches if you own a standard size toilet. That way if you buy a similar standard toilet you can rest assured that it will fit right in.
- The next step is to turn off the water that is attached to the water valve. The reason for this is to make sure that new water doesn’t come in while you are installing the new toilet. Flush whatever is left in the bowl until its empty.
- Put on some rubber gloves and prepare to thoroughly empty whatever is left inside the toilet bowl. All of the leftover water will need to be removed, and you can do so with a small cup and a large sponge to absorb everything you can.
- Next, unscrew the tank bolts that are attached to the basin of the bowl and unscrew the water supply line. Take off the floor bolt caps and loosen the nuts with a wrench until they come off. In order to get the toilet unattached from the floor it’s sealed to, you will have to rock it back and forth until it breaks off. Once it becomes detached, put it aside with the basin and scrape off the wax leftover from around the drain opening. Then, for the time remaining, just place an old cloth rag in the drain opening to keep sewage fumes from taking over the air space in your bathroom while you install the new one.
- The first step to putting in the new toilet is to place the new circular flange around the drain opening by unbolting the old one first. Then, hammer in any of the mounting bolts through the flange into the floor. On top of the flange, place the new wax ring and secure it tightly. If it doesn’t happen to stay secure on the floor you may have to take it off and do it again.
- The next part can be tricky, but lift your toilet bowl and place it over the anchor bolts in the floor. At first it may feel frustrating, but just know that everything will fall into place once you have the correct angle. Once the anchor bolts are on the toilet bowl tightly, rock the whole piece side to side in a similar fashion. However, this time you are creating a new seal.
- Tighten the base bolts by hand and insert spacers beneath the toilet if you need to make it level. Do this slowly until everything is secure, and then replace the plastic floor caps.
- Finally, reconnect the water lines and caulk the base of the toilet to make sure no water from the drain area comes up.
Written by Mike Wolfe of Mike Wolfe Construction. Mike and his crew offer the best service for home improvement Columbia MO has to offer!