
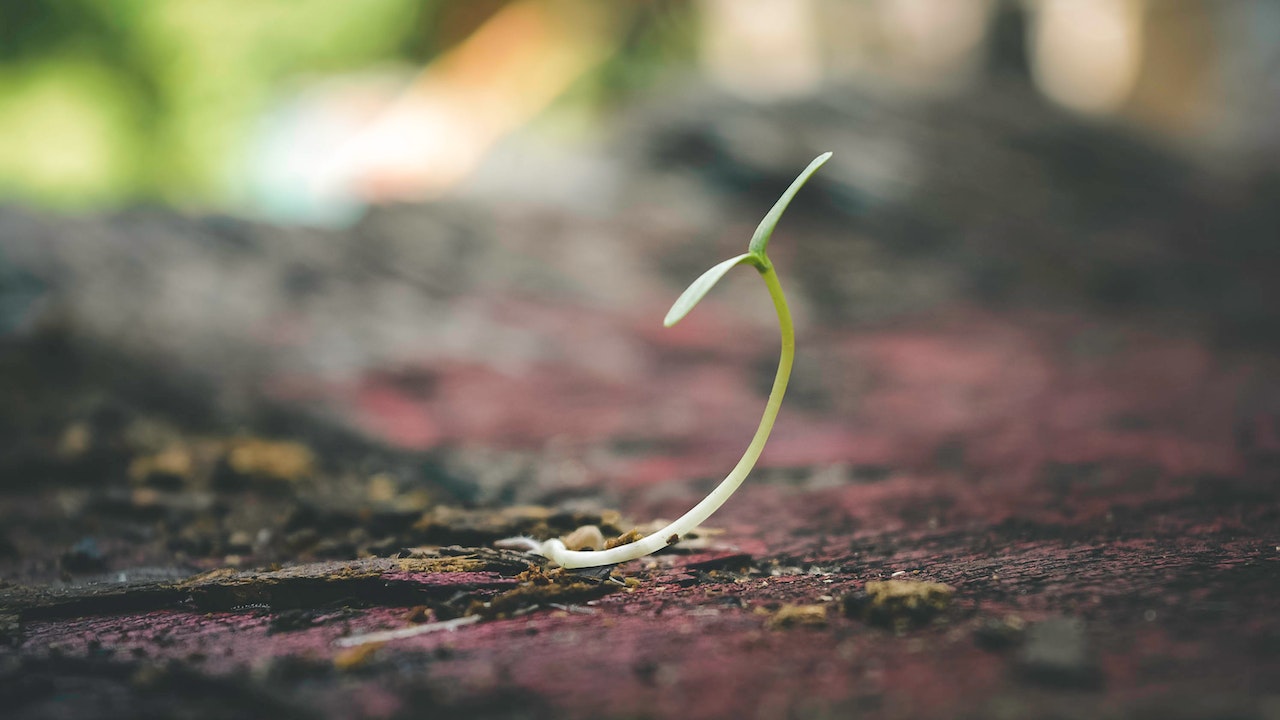
Growing seeds at home can be a rewarding and satisfying experience. Whether you’re starting a vegetable garden, planting flowers, or cultivating herbs, growing plants from seeds allows you to witness the entire life cycle of a plant, from seed to harvest. Taking care of seeds requires attention to detail, patience, and a willingness to learn. In this article, we’ll discuss the steps involved in growing and taking care of seeds at home. In this article we have listed some effective tips that really help you to grow seeds at home.
Follow These Tips
Choose the Right Seeds
Before you can start growing seeds, you need to choose the right seeds, decide what you are exactly willing to grow at your home?. Make sure to select seeds that are appropriate for your climate and the season. Seeds are typically categorised as cool-season or warm-season. Cool-season seeds should be planted in early spring or late summer, while warm-season seeds should be planted in late spring or early summer. Consider the amount of sun and shade in the area where you plan to plant the seeds, as well as the soil type and moisture levels.
Start Seeds Indoors
Starting seeds indoors is a great way to get a head start on the growing season. To start seeds indoors, you will need a seed-starting tray, seed-starting mix, seeds, and a warm, sunny location. Fill the seed-starting tray with the seed-starting mix and sprinkle the seeds on top. Cover the seeds with a thin layer of the mix and water thoroughly. Keep the tray in a warm location, ideally with a temperature of 60 to 70 degrees Fahrenheit, and water as needed.
Preparing Your Growing Space
Before you start planting your seeds, you’ll need to prepare your growing space. Choose a location that receives plenty of natural light or invest in artificial grow lights. Make sure the area is clean and free from debris, and consider using a sterile growing medium to prevent disease.
You’ll also need to choose containers for your seeds. Many gardeners prefer to use biodegradable peat pots, as they can be planted directly in the ground without disturbing the roots. You can also use plastic pots or trays, but be sure to sterilise them before use.
Transplant Seedlings
Once your seedlings have grown to be about 2 to 3 inches tall, it’s time to transplant them. Transplanting seedlings involves carefully removing them from their seed-starting tray and planting them in individual pots or in the ground. Be sure to water the seedlings thoroughly before transplanting them to minimise shock. When transplanting seedlings, make sure to plant them at the same depth as they were in the seed-starting tray.
Provide Adequate Water
Watering is a crucial aspect of taking care of seeds. Seeds need moisture to germinate, and seedlings need water to grow. When watering seeds, be careful not to overwater them, as this can lead to rot. Instead, water the seeds gently and frequently, keeping the soil moist but not soaking wet. When watering seedlings, make sure to water deeply, saturating the soil to the root level.
Provide Adequate Light
Light is essential for seed germination and seedling growth. Most seeds require light to germinate, and seedlings need adequate light to develop properly. Place your seed-starting tray or pots in a sunny location or use grow lights to provide sufficient light. Make sure to adjust the height of the lights to ensure that the seedlings are receiving the appropriate amount of light.
Fertilise Regularly
Fertilising is an important part of taking care of seeds. Fertiliser provides essential nutrients that seeds need to grow and develop. Choose the best fertilisers available in the market and consider using discount codes on the seeds or fertilisers purchased.
Now Caring Your Grown Seedlings
Once your seedlings have sprouted, they require careful attention to help them grow into strong, healthy plants. Here are some tips for caring for your grown seedlings:
- Light: Your seedlings need plenty of light to grow, so make sure they are getting enough natural or artificial light. If you are using artificial grow lights, make sure they are positioned close enough to the seedlings to provide adequate light.
- Watering: Seedlings require consistent moisture to grow properly. Keep the soil moist but not waterlogged by watering them regularly, usually every few days. Be careful not to overwater, as this can lead to fungal diseases.
- Fertilisation: Once your seedlings have developed their second set of true leaves, it’s time to start fertilising. Use a balanced, water-soluble fertiliser at half strength to avoid overfeeding. Apply the fertiliser every two weeks.
- Transplanting: As your seedlings grow, they will eventually outgrow their containers. When the roots start to peek out of the drainage holes, it’s time to transplant them into larger containers. Be careful not to damage the roots during transplanting.
- Hardening off: Before you transplant your seedlings outdoors, they need to be hardened off to adjust to the outdoor conditions. Gradually expose them to outdoor conditions over a period of one to two weeks, starting with short periods of time and gradually increasing.
- Pest control: Keep an eye out for pests such as aphids, mites, and thrips, which can damage or kill your seedlings. Use organic pest control methods such as insecticidal soap or neem oil to control these pests.
- Disease control: Seedlings are vulnerable to fungal and bacterial diseases. Prevent these by providing good air circulation, avoiding overcrowding, and using sterilised equipment and soil.
By following these tips, you can take care of your grown seedlings and help them grow into strong, healthy plants ready for transplanting outdoors. Remember to be patient, as some plants take longer to mature than others, and enjoy the process of watching your seedlings grow!
Best Season To Grow Seeds Indoors
The best season to grow seeds indoors depends on the specific type of plant you are growing, as well as your climate and growing conditions. However, generally, the best time to start seeds indoors is in late winter or early spring, around 6-8 weeks before your region’s last frost date.
Starting your seeds indoors during this time allows the plants to establish strong roots and sturdy stems before being transplanted outside in the spring. It also gives you a head start on the growing season, which can be especially beneficial in cooler climates or for plants that require a longer growing season.
That being said, some plants may require different timing. For example, warm-season crops such as tomatoes and peppers require a longer growing season and may need to be started earlier indoors. On the other hand, cool-season crops like lettuce and spinach can be started later in the season or even in the fall for a winter harvest.
Additionally, some plants may benefit from being started indoors at different times throughout the year. For example, herbs like basil and parsley can be started indoors year-round for a continuous supply of fresh herbs.
Ultimately, the best time to start seeds indoors depends on the specific needs of the plant and your growing conditions. Research the ideal planting time for your specific plant and adjust accordingly based on your climate and growing conditions.